
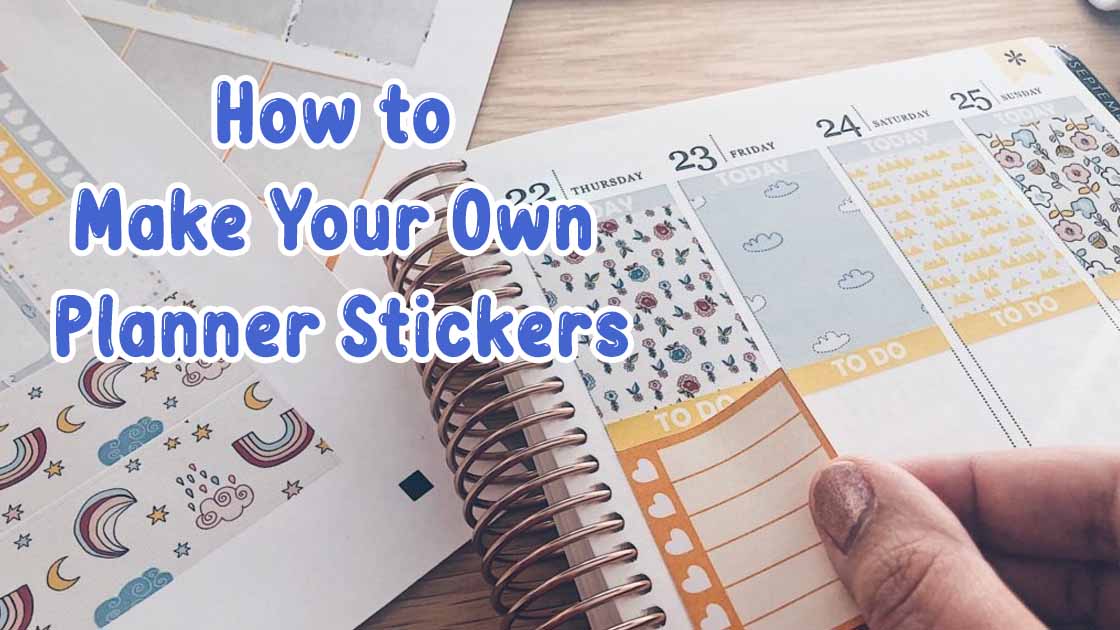
In the realm of organization and personal expression, planner stickers have become a popular and versatile tool for individuals seeking to infuse their schedules with color, personality, and functionality. Making your own planner stickers not only allows for customization but also provides a satisfying creative outlet. In this guide, we’ll explore the general tips, essential supplies, sizing considerations, and the process of designing custom planner stickers using Avery Design and Print Online.
General Tips for Making DIY Planner Stickers at Home
Before diving into the specifics, it’s essential to grasp some general tips that can significantly enhance your DIY planner sticker-making experience:
1. Choose Quality Materials
Opt for high-quality sticker paper and printing materials to ensure durability and vibrant colors in your final stickers.
2. Precision is Key
Pay attention to cutting accuracy. Invest in a reliable cutting tool, such as a precision cutting machine or a sharp pair of scissors, to achieve clean and polished edges.
3. Test Before Mass Production
Before printing a large batch, conduct a test print to ensure colors, sizes, and designs meet your expectations.
4. Organize Your Designs
Keep your designs organized digitally to streamline the printing process. This also makes it easier to modify and reuse designs in the future.
5. Consider Functionality
Think about the purpose of each sticker. Whether it’s for reminders, tracking habits, or simply adding flair, design stickers with functionality in mind.
Why Do People Put Stickers in Planners?
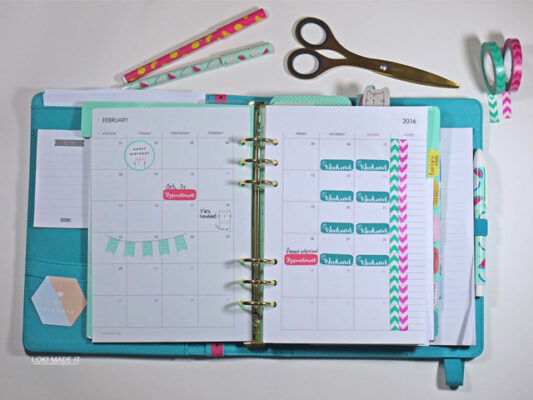
The surge in popularity of planner stickers can be attributed to the desire for a more engaging and personalized planning experience. Stickers offer a visual and tactile element to scheduling, making it more enjoyable and expressive. People use stickers in planners for various reasons:
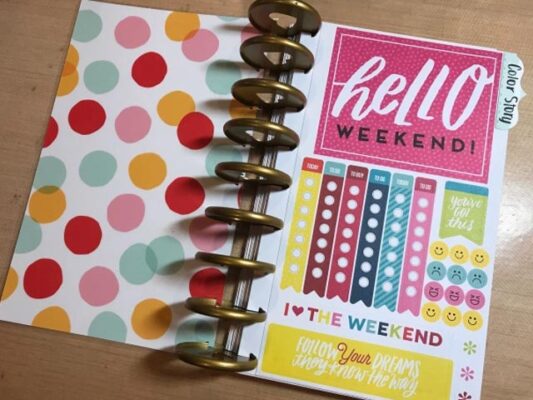
1. Visual Organization
Stickers help highlight important events, deadlines, and appointments, making them stand out amidst the text.
2. Customization and Personalization
Stickers allow individuals to infuse their planners with a personal touch, reflecting their style, preferences, and interests.
3. Motivation and Inspiration
Inspirational quotes, motivational phrases, or themed stickers can uplift spirits and add a positive vibe to daily planning.
4. Tracking and Goal Setting
Stickers are excellent tools for tracking habits, setting goals, and visually representing progress over time.
What Do I Need to Make My Own Planner Stickers? DIY Planner Sticker Supply Checklist
Gathering the necessary supplies is a crucial step in your DIY planner sticker-making journey. Here’s a checklist to guide you:
1. Sticker Paper
Invest in high-quality sticker paper compatible with your printer for vibrant and long-lasting prints.
2. Printer
A color printer with good resolution is essential for producing clear and detailed stickers.
3. Cutting Tools
Choose between a precision cutting machine, a craft knife, or sharp scissors for accurately cutting your stickers.
4. Design Software
Use graphic design software like Adobe Illustrator, Canva, or Avery Design and Print Online for creating and editing your sticker designs.
5. Digital Planner Sticker Designs
Whether you create your own designs or purchase digital files, have a collection of designs ready for printing.
6. Clear Sealant (Optional)
Consider using a clear sealant spray or laminate sheets to protect your stickers from wear and tear.
What Size Should Planner Stickers Be? How to Make Stickers in Custom Sizes for Your Planner
Choosing the right size for your planner stickers depends on the planner you use and your personal preferences. Most planners have designated spaces for stickers, so consider the dimensions of these spaces when determining sticker sizes. Here’s a general guide:
1. Standard Sizes
Common planner sticker sizes include 0.5 x 0.5 inches for small icons, 1.5 x 1.9 inches for checklist stickers, and 1.5 x 0.5 inches for appointment labels.
2. Custom Sizes
Measure the spaces in your planner where you intend to place stickers. Customize your sticker sizes accordingly to fit these spaces precisely.
3. Variety for Versatility
Create a mix of sizes to accommodate different planning needs. This ensures flexibility and adaptability in your sticker usage.
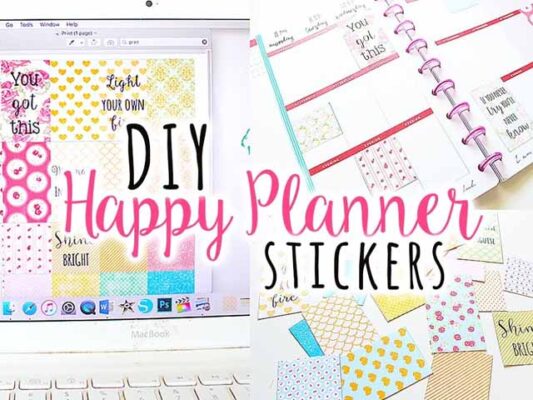
Designing Custom Planner Stickers: Avery Design and Print Online
Avery Design and Print Online is a user-friendly platform that simplifies the design process for custom planner stickers. Here’s a step-by-step guide:
1. Access Avery Design and Print Online
Go to the Avery website and navigate to the Design and Print Online tool.
2. Select a Template
Choose a sticker template that matches the size of your sticker paper. Avery provides a wide range of templates for various purposes.
3. Design Your Stickers
Use the intuitive design interface to add text, images, and shapes to your stickers. Customize colors, fonts, and layouts according to your preferences.
4. Preview and Print
Preview your design to ensure everything looks as intended. Once satisfied, load your sticker paper into the printer and click the print button.
5. Cut Your Stickers
After printing, use your chosen cutting tool to cut along the template’s guidelines. Take your time to achieve clean and precise cuts.
6. Seal if Desired
If you want extra protection for your stickers, apply a clear sealant spray or laminate them using laminate sheets.
Conclusion
Making your own planner stickers is a delightful journey that combines creativity with practicality. Armed with the right supplies, knowledge of sizing, and user-friendly design tools like Avery Design and Print Online, you can transform your planning experience into a personalized and visually appealing adventure. As you embark on this DIY endeavor, remember that the beauty of planner stickers lies not just in their functionality but in the joy and self-expression they bring to your everyday schedule. Happy crafting!